Ever found yourself in a moment so epic that you wished you could hit record on your iPhone faster than you can say “selfie”? Whether it’s capturing the perfect dance move at a wedding or documenting your cat’s latest shenanigans, having that record button at your fingertips is a game-changer.
Table of Contents
ToggleUnderstanding The Record Button Functionality
The record button serves as a vital feature on the iPhone, enabling users to capture audio and video effortlessly. This functionality enhances the overall user experience by providing quick access to recording capabilities.
What Is The Record Button?
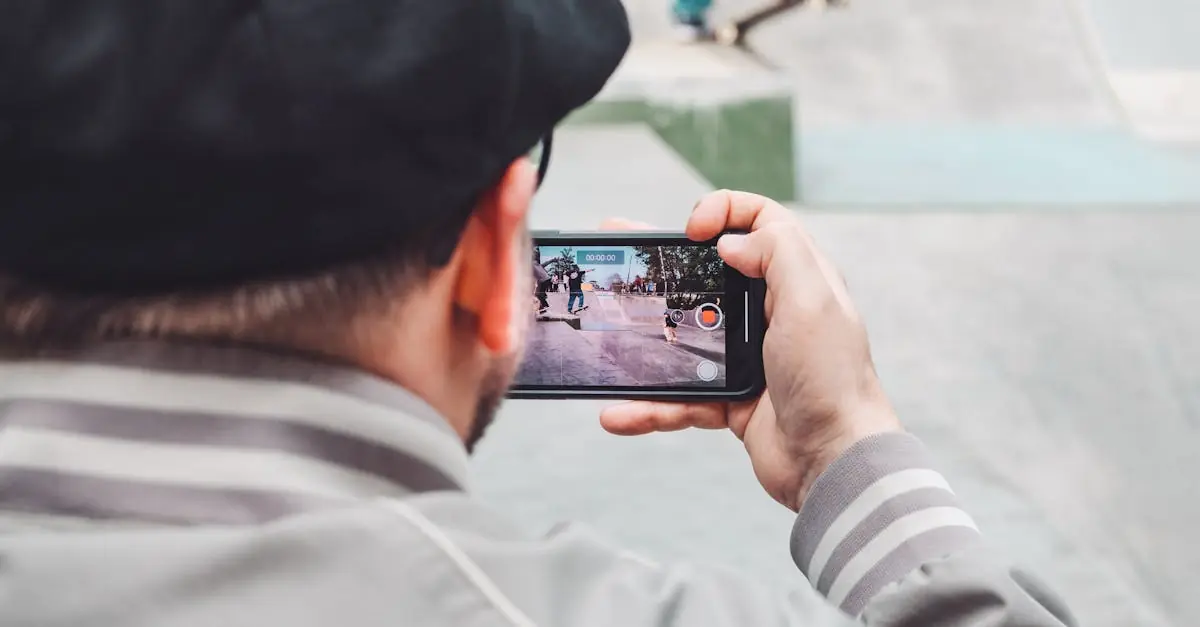
The record button acts as the primary control for initiating recordings. Found within various applications, such as Camera and Voice Memos, it allows for instant capturing of moments. Users can easily identify this button, typically represented by a red circle or icon. Tapping this icon begins the recording process, and tapping again halts it. This straightforward operation ensures convenient use for both novice and experienced users.
Importance Of The Record Button On iPhone
The record button plays a crucial role in documenting significant events in daily life. It enhances creativity by allowing users to capture spontaneous moments, such as performances or nature sounds. Quick access to recording serves essential needs, whether for personal videos or important business meetings. Without this functionality, capturing memories becomes more challenging. The iPhone’s record button ultimately empowers users to preserve their experiences effortlessly.
Steps To Add The Record Button On iPhone
Adding the record button on an iPhone enhances the ability to capture audio and video effortlessly. Follow these steps for easy access.
Navigating To Settings
First, open the Settings app on the iPhone. Scroll down until reaching the Control Center option. Tap on Control Center to access its settings. This section handles features that can be added or removed from the Control Center.
Customizing Control Center
Next, users should locate the “Customize Controls” option. Here, a list of available controls appears. Look for the Screen Recording option within the More Controls section. To add this feature, tap the green plus sign next to Screen Recording. Now, the record button will appear in the Control Center.
Adding The Record Button
Finally, check that the record button appears in the Control Center. Swipe down from the upper right corner of the screen to access the Control Center. Users should see the red circle button, which represents screen recording. Tapping it starts a recording session, capturing everything on the screen.
Troubleshooting Common Issues
Accessing the record button can sometimes present challenges. Users may find that the button does not appear in the Control Center, preventing quick recordings.
Issues With Accessing The Record Button
Problems often arise when the Control Center settings aren’t configured properly. A misconfiguration can limit access to the record button. Users may also discover that they’re using an outdated iOS version, which affects functionality. Certain apps may not support recording features, resulting in unavailability. Addressing these concerns promptly helps ensure the record button is accessible when needed.
Solutions For Missing Recording Options
Adjusting settings usually resolves missing recording options. Start by checking the Control Center settings through the Settings app. Ensure Screen Recording is added to the list of included controls. Updating the iOS version can also remedy the missing button issue. Restarting the device may address temporary glitches that hinder access. Testing different apps guarantees that recording capabilities are functioning across various contexts.
Tips For Effective Use
Recording on an iPhone enhances the ability to capture key moments effortlessly. Utilizing best practices can lead to improved outcomes.
Best Practices For Recording On iPhone
Select a quiet location before starting the recording. Avoid busy areas, as background noise can diminish audio clarity. Utilize a steady grip on the device to ensure stability. Stabilizing the iPhone can prevent unwanted shakes during video capture. Adjust the camera settings to the desired quality before beginning. Testing different angles can enhance the overall composition. Saving multiple recordings ensures users have a variety of options to choose from later.
Enhancing Audio And Video Quality
Use an external microphone for better audio capture. External options often provide clearer sound than built-in mics. Ensure adequate lighting when recording video. Natural light can significantly improve image quality. Adjust the video resolution settings in the iPhone’s camera options. Higher resolutions yield superior visual clarity. Avoid zooming in excessively, as it may reduce overall sharpness. Lastly, minimize movement during recording to maintain focus and stability.
Adding the record button to an iPhone’s Control Center significantly enhances the user experience. It provides quick access to capture life’s most memorable moments with just a tap. By following the simple steps outlined, users can customize their devices to suit their needs.
Addressing potential issues ensures a seamless recording experience. With the right techniques and settings in place, users can elevate their recordings to new heights. Whether for personal memories or professional projects, the iPhone’s recording feature is a powerful tool that encourages creativity and spontaneity. Embracing this functionality allows users to document their lives effortlessly and effectively.